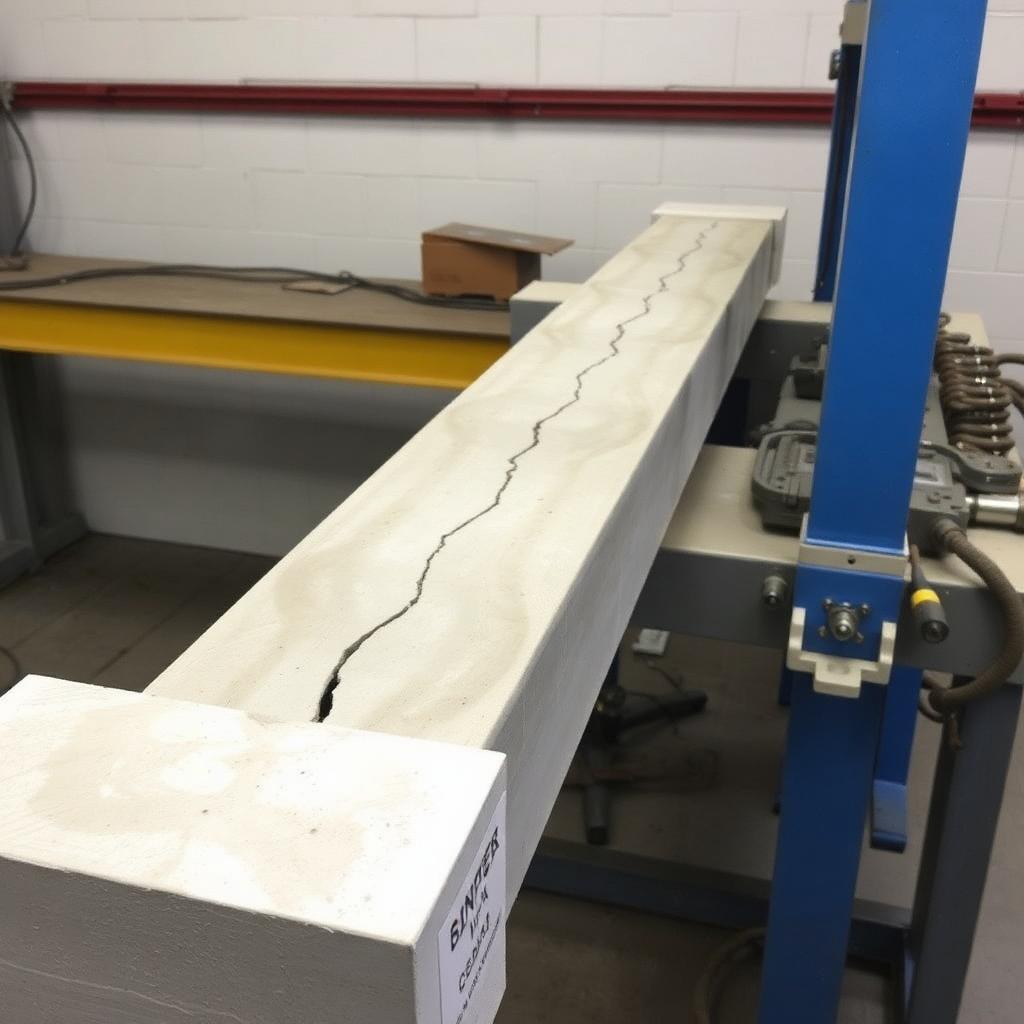
 Objective 01
Compute φMn for a singly reinforced beam
a = As·fy/(0.85·f'c·b); φMn = φ·As·fy·(d − a/2).
- Why it matters
- Governs every rectangular beam.
- Where it is used
- Ch 22 flexure.
- Connects to
- ACI 318-19 §22.2.
A century of steel — from concept to skyline
For a tension-controlled beam, φMn = φ·As·fy·(d − a/2).
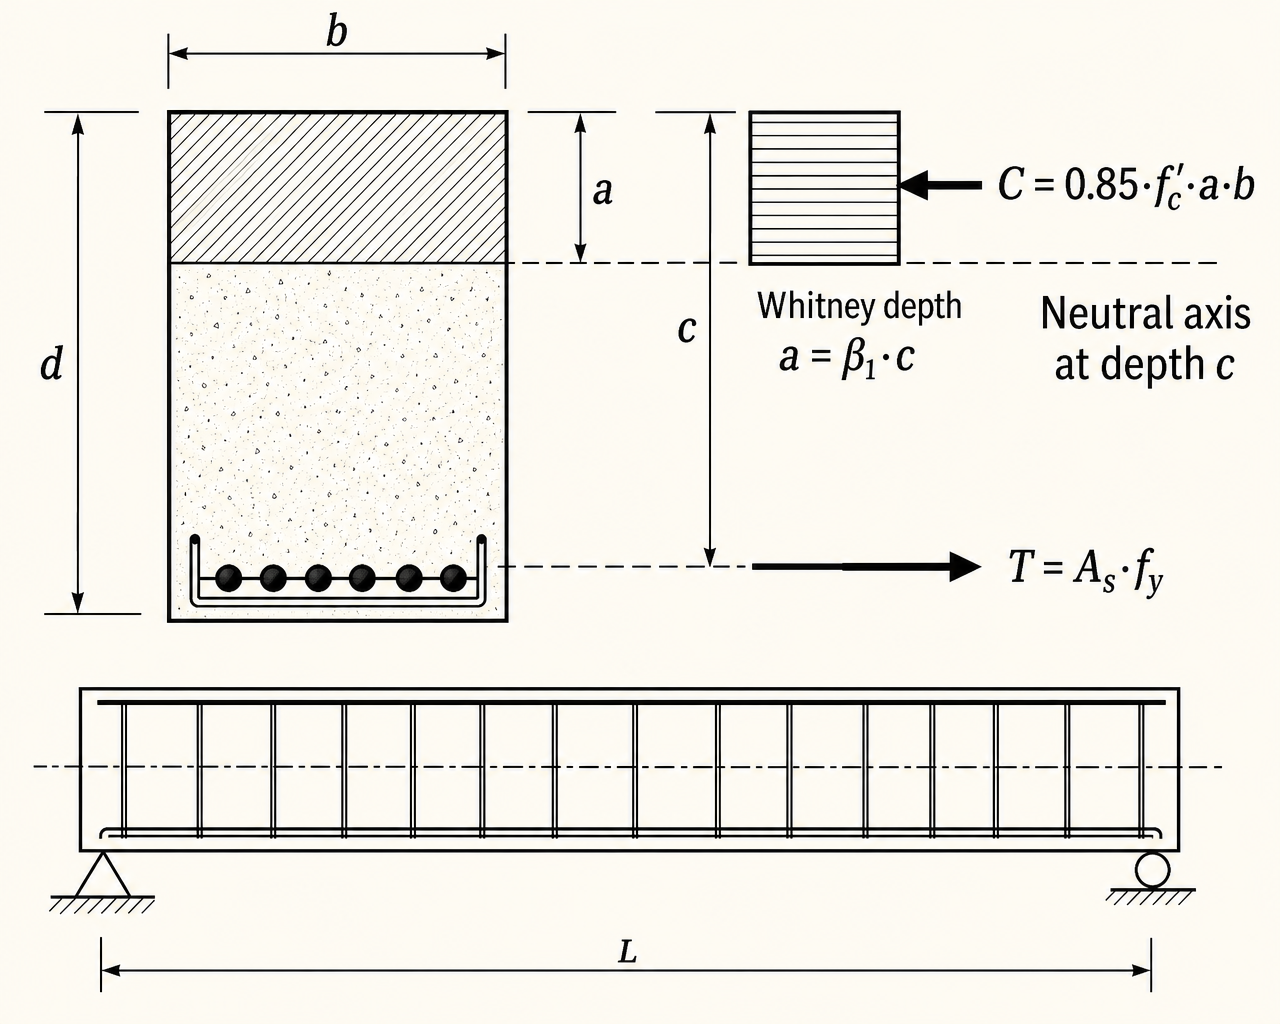
The Whitney block turns non-linear concrete into a rectangle 0.85·f'c wide and a = β1·c deep.
Chapter 22 covers singly reinforced, doubly reinforced, and T-beams per ACI 318-19 Ch. 9 & 22, using the Whitney stress block and εcu = 0.003.
What you will be able to do after finishing Chapter 1 — and why each objective matters in practice
Objective 01a = As·fy/(0.85·f'c·b); φMn = φ·As·fy·(d − a/2).
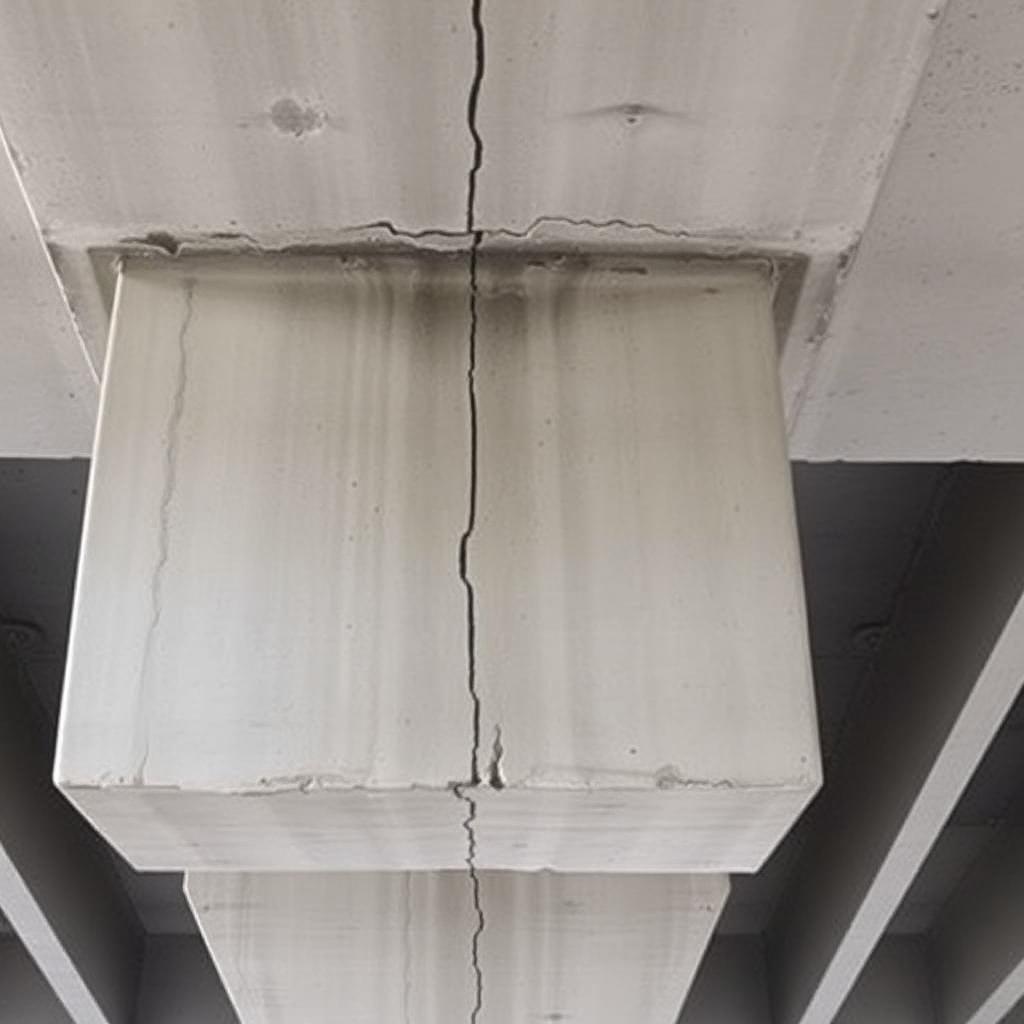 Objective 02
εt = 0.003·(dt − c)/c. Tension-controlled if εt ≥ 0.005.
Objective 03As,min = max(3√f'c/fy·b·d, 200·b·d/fy) [psi units].
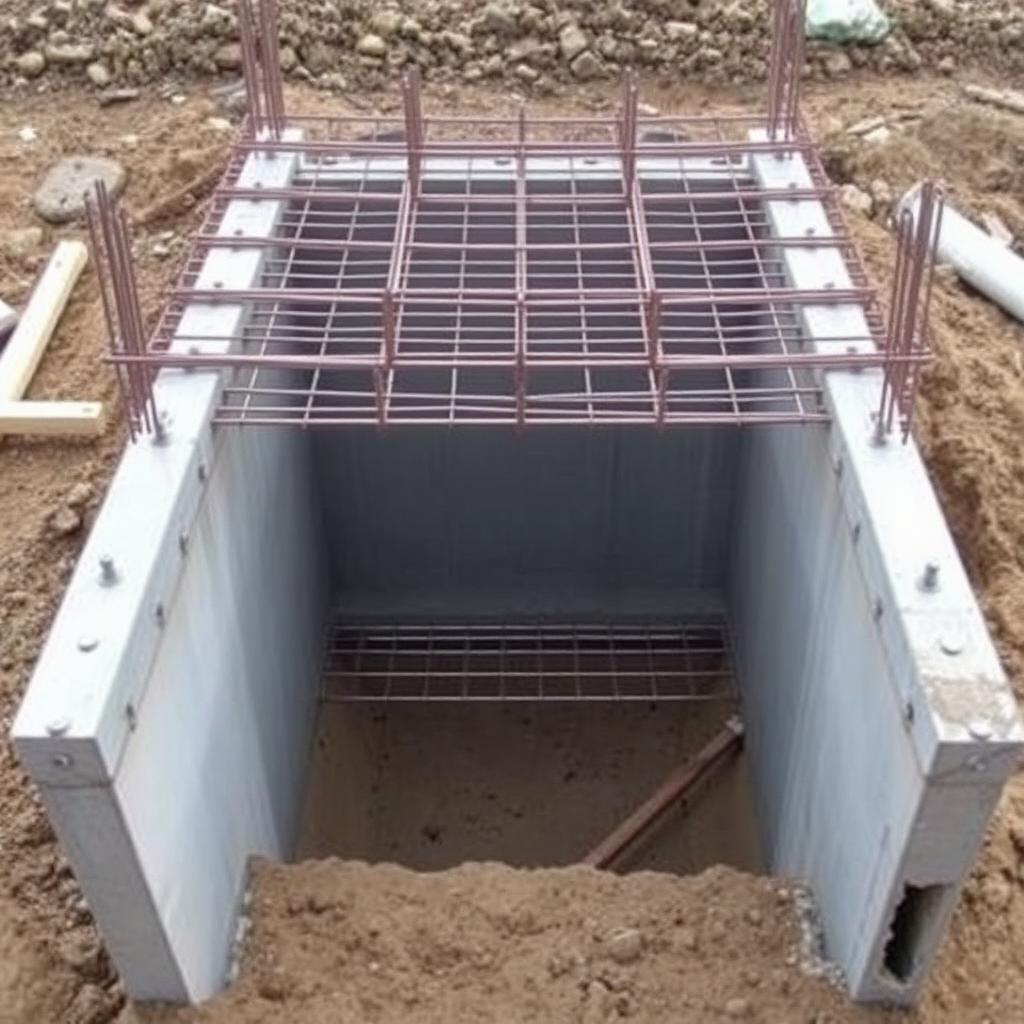 Objective 04
be = min(L/4, bw + 16·hf, ½·clear span to next beam).
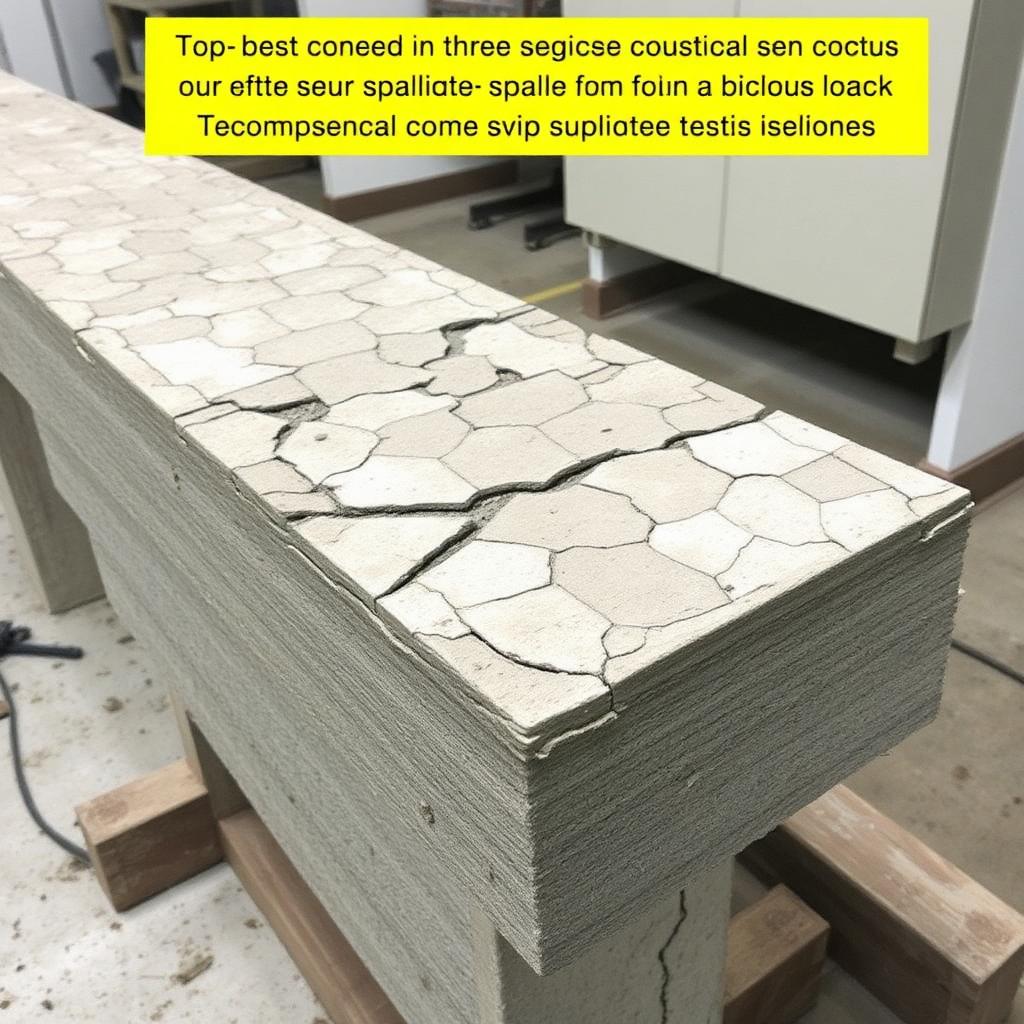 Objective 05
Add compression steel A's when b·d is constrained; ensure compression steel yields (c/d ratio check).
Objective 06Clear spacing ≥ max(db, 1 in, 4/3·dagg); hook development per Ch. 25.
What each part of a steel-frame building actually does — and why it exists
Before you design any single member, you have to see the whole system. A steel-frame building is not a collection of independent shapes bolted together — it is a deliberate load path, engineered so that every kilonewton of gravity, wind, or seismic demand has a continuous route from where it starts to the ground where the earth can resist it.
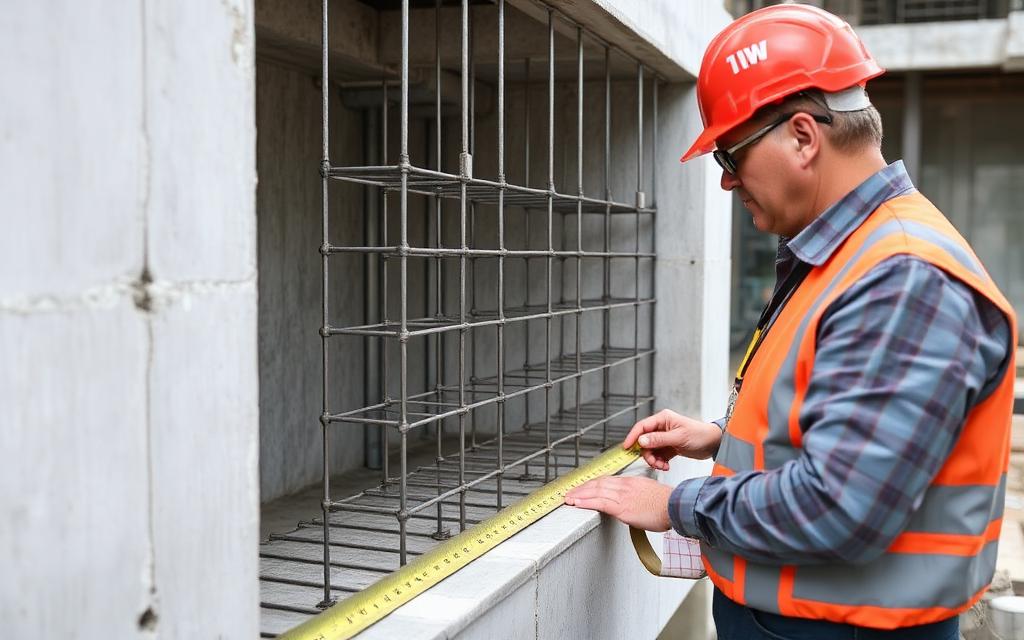
The photograph below shows a typical steel framing detail. Drag each labelled chip onto the structural element it names — the drop is only accepted when it lands inside the correct element's outlined region. A correct answer locks in with a green outline and a short explanation; a wrong answer flashes the region red, tells you what you actually hit, and returns the chip so you can try again. Press Reveal expected placements to see the reference solution (that attempt is then marked as assisted).
Why we design the way we do — six ways steel structures have failed, and what each disaster taught the profession
Every provision in AISC 360 is a scar. Behind each equation, load factor, and detailing rule is a bridge, a walkway, or a tower whose failure cost lives and rewrote the profession. The six case studies below trace the mechanisms that motivate the code you are about to learn.
Read each one as an engineer, not a spectator: identify the load, the limit state, the missing check, and the specific clause that exists today because that check was missed. When you meet those clauses again in Chapters 5–17, they will read as answers, not rules.
Over-reinforced beam crushes concrete before rebar yields.
εt < 0.005 (transition or CC).
Wide midspan cracks precede plastic-hinge formation — the safe mode.
εt >> 0.005; steel yields long before concrete crushes.
Design codes intervene at the transition from yield to instability. Everything before yield is elastic and reversible; everything after instability is a race to collapse. LRFD keeps the demand well below the first transition.
The full textbook chapter — figures, equations, and engineering narrative
For a singly-reinforced beam, adding more tension steel increases capacity — until it doesn't. What physically limits how much steel is useful, and why does ACI cap ρ near the tension-controlled boundary?
How this chapter is organized. First we build intuition — the three stages an RC beam passes through as load grows (Ch. 2). Then we quantify each stage: the cracking moment (Stage 1→2), the ultimate strength model with the Whitney stress block (Stage 3), the εt-based classification and φ factor, and finally the ρmin / ρmax limits that keep every design ductile. Six worked examples take you all the way from analyzing a given section to sizing a brand-new beam.
A reinforced-concrete beam does not behave like a homogeneous elastic beam. As the load grows from zero to failure, the cross section passes through three distinct stages. Every design equation you will use — cracking moment, service-load stresses, ultimate strength — belongs to one of these stages. Get the stages straight and the rest of the chapter is bookkeeping.
Tensile bending stress is less than the modulus of rupture fr. The full gross section resists bending — compression on one face, tension on the other — and steel is almost inactive because its strain (and therefore stress fs = n·fc,tension) is small. Analyze it as a plain elastic beam using Ig:
Once M exceeds the cracking moment Mcr, tension cracks propagate up toward the neutral axis. The concrete below the neutral axis is done — steel now carries all the tension. Because service stresses remain below about 0.5·f'c, the compression stress block on top is still a triangle (straight-line) and the transformed-area method applies. This is the range that governs deflections and crack-width checks (Chapter 6 of McCormac).
Load is pushed further until steel yields (fs = fy) and the compressive fiber strain reaches εcu ≈ 0.003. The concrete compression stress is no longer linear — it follows the parabolic stress-strain curve of concrete. Whitney's equivalent rectangular block (0.85·f'c over depth a = β1c) replaces the parabola while preserving total force and centroid. This is the stage every strength equation in Chapters 3–5 of McCormac operates in.
Reading the diagram. Between 0 and Mcr the curve is nearly vertical (Ig is large). At Mcr tension cracks open and the slope drops (Icr < Ig) but stays nearly linear up to yielding. After the steel yields, the curve flattens almost horizontally — huge extra curvature (rotation, deflection) for very little extra moment — until concrete crushes and the beam fails. Ductility is that long, flat tail. Under-reinforced beams give lots of warning; over-reinforced beams do not.
Because the reinforcement is a small fraction of the section (usually ≤ 2%) and the concrete is still uncracked, treat the beam as homogeneous. Bending stress at any fiber a distance y from the centroid of the gross section is
The section cracks when the extreme-fiber tensile stress reaches the modulus of rupture fr. ACI 318-19 §19.2.3 (equation 19.2.22.2) gives
Setting the extreme-fiber stress = fr and solving for M gives the cracking moment (ACI Eq. 9-9):
yt is the distance from the centroid of the gross section to the extreme fiber in tension. λ = 1.0 for normal-weight concrete; λ < 1.0 for lightweight (see §1.12).
Since 463 psi < 474 psi, the section has not cracked → Stage 1 analysis was valid.
Any applied moment above 25.6 ft·k puts the section into Stage 2 and the transformed-area (cracked) analysis must be used.
Every worked example starts with a labelled sketch of the section: overall width b, total height h, effective depth d = h − cover − dtie − db/2, and every bar with its area As. The effective depth d — not h — is what appears in every strength equation.
At ultimate the code fixes the extreme-fiber concrete strain and lets strains vary linearly with depth (plane sections remain plane). Whitney's equivalent rectangular block reproduces the total compression force and its centroid, replacing the real parabolic curve.
Because strains vary linearly across the depth and εc = 0.003 at the top fiber, similar triangles give the net tensile strain εt at the extreme layer of tension steel:
Yield strain for Grade 60 is εy = 60,000 / 29,000,000 ≈ 0.00207 (≈ 0.002). Once εt is known, φ comes straight from ACI Table 21.2.2 — see §7 below.
φ is not a single number — it varies with how ductile the section is at ultimate. ACI 318-19 §21.2.2 defines three regions bounded by εty = fy/Es and εty + 0.003. For Grade 60 those bounds simplify to εt = 0.002 and εt = 0.005.
Design implication. Sections designed with ρ near ρmin land far into tension-controlled territory (φ = 0.90) automatically. Sections with ρ close to ρmax fall into the transition zone — you get a smaller φ, so the section becomes uneconomical. McCormac's advice: increase depth and reduce ρ until εt ≥ 0.005 — you get φ = 0.90 back, less steel, less crowding, and better bond.
If a beam is too lightly reinforced, its ultimate moment is less than its cracking moment: the first crack pops and the beam breaks in half with no warning. If it is too heavily reinforced, concrete crushes before steel yields — also no warning. ACI puts a floor and a ceiling on ρ.
The 200/fy floor governs up to about f'c = 4,440 psi; the √f'c form governs above. Values of ρmin are tabulated (Appendix A, Table A.7) — read the row for your fy and f'c.
Why the iteration matters. Beam self-weight is a dead load that depends on the beam size, which you don't know until you've solved the design equation. Assume a size, size the beam, recompute self-weight, and repeat once or twice until the assumed and computed weights match to within a few percent.
Written for flexure: φMn ≥ Mu. For shear: φVn ≥ Vu. For axial: φPn ≥ Pu. Never compare a nominal strength to a factored demand — always insert φ first.
Why strength design beat working-stress design. (1) It captures the nonlinear concrete stress-strain curve → better strength prediction. (2) It uses one consistent theory for beams, slabs, and columns. (3) Load-specific γ factors recognise that dead load is more predictable than live/wind/seismic — a more rational safety margin. (4) It fully utilizes high-strength steels. (5) It allows a much wider range of steel percentages, giving the designer more flexibility.
RC flexure practice

ABET / licensure link. These points map to ABET Student Outcomes 2 and 4 — engineering design within realistic constraints, and recognition of ethical and professional responsibilities. Expect NCEES FE and PE exam questions on the NSPE Code of Ethics, OSHA construction requirements, and the engineer's standard of care.
Flexural design economics
| Line item | Qty | Rate | Cost |
|---|---|---|---|
Option A — h = 30″, As = 3.16 in² (4-#8) | 0.107 ton rebar | $2,200 | $235 |
Option A concrete + forms | 1.1 yd³-equivalent | $320 | $352 |
Option B — h = 22″, As = 4.74 + A′s = 1.58 in² | 0.214 ton rebar | $2,200 | $471 |
Option B congestion/placement premium | 1 ls | $250 | $250 |
| Estimated total | $1,308 | ||
Takeaway. The deeper singly reinforced beam costs ~$590 less — use depth, not compression steel, whenever headroom allows.
Unit rates are representative US averages for teaching purposes. On a real project, price with current local rates (RSMeans, fabricator quotes, or contractor pricing) and state the estimate date.
Key mechanics visualised — watch the strain profile, stress block, or buckled shape evolve
Linear strain profile pivots about the neutral axis. As c shrinks, εt at the tension steel grows past 0.005 — the section becomes tension-controlled and φ = 0.90.
The parabolic concrete stress is replaced by a rectangle of intensity 0.85·f'c and depth a = β1·c. Compression resultant C = 0.85·f'c·b·a balances tension T = As·fy.
Full-page reference diagrams — the visual vocabulary you will use for the rest of the course
Flexural cracks at midspan.
Slab casts monolithically with the web.
Under-reinforced → warning cracks.
Over-reinforced → brittle failure.
Full textbook solutions — problem, theory, step-by-step, verification, interpretation
Compute a, c, εt, φ, and φMn line-by-line.
A rectangular beam has b = 12 in, d = 20 in, As = 3.0 in² (three #9), f'c = 4,000 psi, fy = 60 ksi. Compute φMn.
Force balance C = T gives a directly. Then classify εt and pick φ.
Under-reinforced (εt ≫ 0.005): ductile mode as intended.
Compute the governing variables — hints unlock as you need them
A singly-reinforced beam has b = 10 in, d = 18 in, A_s = 2.0 in², f'c = 4,000 psi, f_y = 60 ksi. Compute a, c, ε_t, classify the section (tension-controlled / transition / compression-controlled), and report φM_n.
Solve the chapter's design task — compute each governing variable
A singly-reinforced rectangular beam has b = 12 in, d = 20 in, and As = 3.00 in² (three #9 bars). Compute the Whitney stress-block depth a, the net tensile strain εt, and the design flexural strength φMn. Verify the section is tension-controlled.
Select the option that satisfies every code and serviceability requirement in the brief
Design a singly-reinforced rectangular beam for M_u = 200 k·ft with b = 12 in, d = 20 in, f'c = 4,000 psi, f_y = 60 ksi. Solve for A_s, verify the section is tension-controlled, check A_s,min and A_s,max, and pick a practical bar arrangement that fits in one layer.
A mind map of how every concept connects
These questions reference ACI 318-19 — sections, equations, and tables are cited explicitly. Use a calculator. Each question offers a clue you may reveal before answering. Submissions are recorded to your account once signed in.
Attach your handwritten or typed step-by-step solution for this chapter's graded quiz. The instructor can download every submission. PDF only, up to 25 MB.
Your file — PDF, Word document, scanned handwriting or a photo — is read page by page like an experienced structural engineering instructor would. The scan is validated first, then your reasoning, structural model, calculations, diagrams, code basis and final answers are graded on process, not just the final number. Design work is additionally reviewed against AISC 360-22 and ACI 318-19. Partial credit applies, and one early mistake carried correctly forward is only penalized once.
NCEES-style practice with timer, equation sheet, and mastery tracking
b=12, d=20, As=3.0 in², f'c=4000, fy=60 ksi. a is closest to: