27

RC — One-Way Slabs

01

Engineering story

A century of steel — from concept to skyline

Engineer reviewing blueprints against a steel-frame construction site at sunrise

Concrete crushes; steel yields. Together they carry a column.

φPn,max = 0.80·φ·[0.85·f'c·(Ag − Ast) + fy·Ast] for tied; ×0.85 for spiral.

Chapter 26 covers short RC columns under axial and P–M interaction: tied vs spiral detailing, φPn,max, and the P–M interaction diagram.

Iconic steel structures built on engineering excellence
  1. Whitney short-column formula
    1937
  2. ACI unified strength design
    1971
  3. ACI 318-19
    2019
Load pathService D+LPu (Combo 2)φPn (tied 0.65 / spiral 0.75)P–M interactionSlenderness check
02

Learning objectives

What you will be able to do after finishing Chapter 1 — and why each objective matters in practice

Compute φPn,max (short column)Objective 01

Compute φPn,max (short column)

Tied: 0.80·φ·[0.85 f'c(Ag−Ast) + fy·Ast], φ=0.65. Spiral: 0.85·φ·[…], φ=0.75.
Why it matters
Baseline pure-axial capacity.
Where it is used
Every column check.
Connects to
ACI 22.4.2.
Tied vs Spiral detailingObjective 02

Tied vs Spiral detailing

Ties resist rebar buckling laterally; spirals also confine the core and boost ductility.
Why it matters
Spiral columns get φ=0.75 and 0.85·Pmax factor.
Where it is used
Circular columns.
Connects to
ACI 10.7.6, 22.4.2.
Enforce reinforcement ratio ρgObjective 03

Enforce reinforcement ratio ρg

1% ≤ ρg = Ast/Ag ≤ 8% (typically ≤ 4% for constructability).

Why it matters
Keeps concrete workable and steel effective.
Where it is used
Every column design.
Connects to
ACI 10.6.1.
P–M interaction diagramObjective 04

P–M interaction diagram

Points: pure axial (top), balanced (P = Pb, M = Mb), pure flexure (bottom).
Why it matters
Combined loading check.
Where it is used
Every real column.
Connects to
ACI 22.4.
Slenderness (short vs slender)Objective 05

Slenderness (short vs slender)

Short if klu/r ≤ 22 (unbraced) or ≤ 34 − 12·M1/M2 (braced).

Why it matters
Above the limit, use moment magnification.
Where it is used
Long or lightly restrained columns.
Connects to
ACI 6.2.5.
Design a column (Pu, Mu → section)Objective 06

Design a column (Pu, Mu → section)

Pick c, compute As, plot on P–M interaction, iterate.

Why it matters
Rare that Pu alone controls — Mu usually joins.
Where it is used
Every real design.
Connects to
ACI 22.4.
03

Engineering motivation

What each part of a steel-frame building actually does — and why it exists

Before you design any single member, you have to see the whole system. A steel-frame building is not a collection of independent shapes bolted together — it is a deliberate load path, engineered so that every kilonewton of gravity, wind, or seismic demand has a continuous route from where it starts to the ground where the earth can resist it.

The photograph below shows a typical steel framing detail. Drag each labelled chip onto the structural element it names — the drop is only accepted when it lands inside the correct element's outlined region. A correct answer locks in with a green outline and a short explanation; a wrong answer flashes the region red, tells you what you actually hit, and returns the chip so you can try again. Press Reveal expected placements to see the reference solution (that attempt is then marked as assisted).

Structural steel framing — identify each element by dragging the labels
Fig. 1.3 · Drop a chip inside the outlined element it names. Green = correct and locked; red flash = wrong element, chip returns.
04

Failure mechanisms

Why we design the way we do — six ways steel structures have failed, and what each disaster taught the profession

Every provision in AISC 360 is a scar. Behind each equation, load factor, and detailing rule is a bridge, a walkway, or a tower whose failure cost lives and rewrote the profession. The six case studies below trace the mechanisms that motivate the code you are about to learn.

Read each one as an engineer, not a spectator: identify the load, the limit state, the missing check, and the specific clause that exists today because that check was missed. When you meet those clauses again in Chapters 5–17, they will read as answers, not rules.

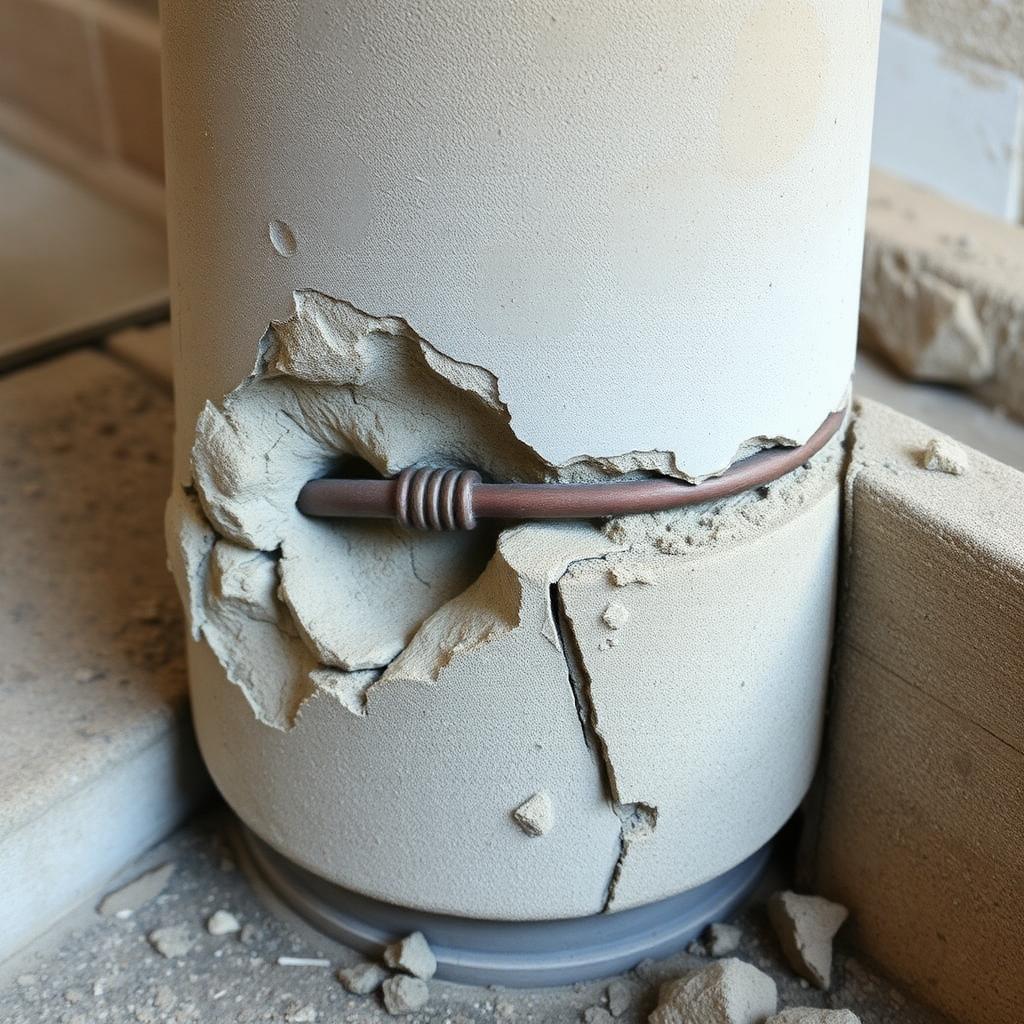
Concrete crushing / rebar buckling: Cover spalls; longitudinal bars buckle between ties.
Case 01
Fig. 1.4.1 · Concrete crushing / rebar buckling
Failure mechanism

Concrete crushing / rebar buckling

Cover spalls; longitudinal bars buckle between ties.

Root cause

Ties too widely spaced.

Lesson learned
Enforce tie spacing s ≤ 16·db, 48·dt, least column dim.
§ACI 25.7.2
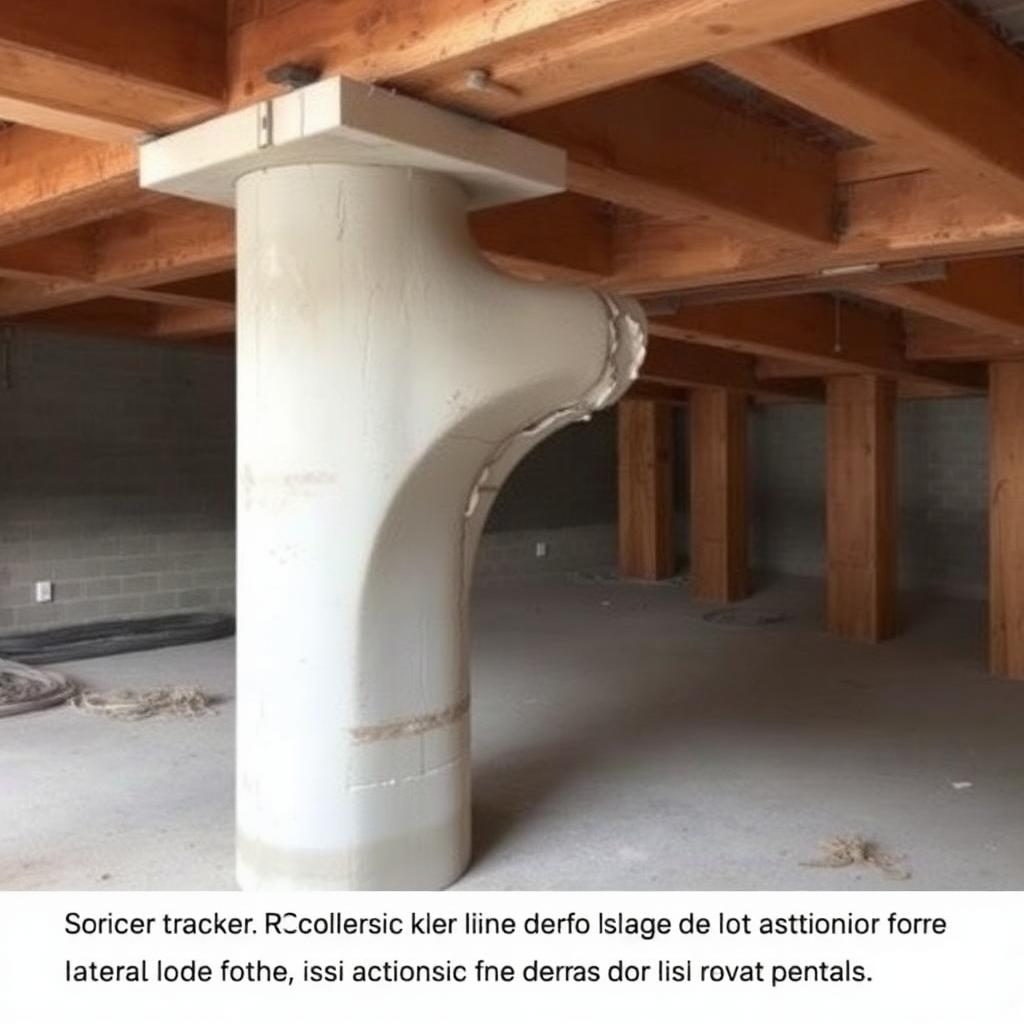
Slender column buckling: Long column bows out under axial + lateral load.
Case 02
Fig. 1.4.2 · Slender column buckling
Failure mechanism

Slender column buckling

Long column bows out under axial + lateral load.

Root cause

Slenderness > 22 (unbraced) not treated.

Lesson learned
Use moment magnification per ACI 6.6.4.
§ACI 6.6.4
How failure propagates
The five-stage failure progression
1Compressive load
2Cover spalls first
3Rebar buckles
4Confined core takes over
5Ductile crushing

Design codes intervene at the transition from yield to instability. Everything before yield is elastic and reversible; everything after instability is a race to collapse. LRFD keeps the demand well below the first transition.

05

Lecture notes

The full textbook chapter — figures, equations, and engineering narrative

Reflection · Think before you read

A one-way slab is really a wide, shallow beam. Why do we still add temperature and shrinkage steel perpendicular to the main reinforcement, and what cracking pattern would you see if we left it out?

One-Way Slab — Design Strip Concept

Design a 1-ft (12-in) wide strip as a rectangular beam with b = 12 in and d = h − cover − db/2. Every equation from Chapter 22 (flexure) still applies; only the units change (moment per foot, steel area per foot).

One-way slab design strip (b = 12 in) As (tension) b h d cover
Design strip — 1 ft wide, thickness h, primary steel at d

Minimum Thickness (ACI Table 7.22.2.1) — Skips Deflection Check

End conditionMinimum h
Simply supportedℓ / 20
One end continuousℓ / 24
Both ends continuousℓ / 28
Cantileverℓ / 10

Values above assume normal-weight concrete and Grade 60 steel. Multiply h by 1.65 − 0.005·wc (pcf) for lightweight concrete; by (0.4 + fy/100,000) for higher-grade steel.

Temperature & Shrinkage (T&S) Steel — ACI 24.4.22.3

(1)
A_{s,T&S} = 0.0018 \cdot b \cdot h (Grade 60)

Provided perpendicular to primary steel to control cracking from temperature and shrinkage strains. Spacing s ≤ min(5h, 18 in).

⚠ Common Mistakes in Slab Design

  • Designing for shear stirrups. One-way slabs typically don't have stirrups — instead the depth is chosen so Vu ≤ φVc.
  • Forgetting T&S steel in the perpendicular direction. Cracking will show.
  • Using primary-bar spacing rule (3h) for T&S bars (which allow 5h).
  • Ignoring live-load pattern loading for continuous slabs — use ACI moment coefficients (§6.5) or a stiffness analysis.
06

Professional practice, safety & ethics

One-way slab practice

Professional practice
  • Provide temperature and shrinkage steel in the perpendicular direction; it is a code minimum, not optional.
  • Show bar chairs, cover, and top-steel support explicitly — top bars walked down during the pour lose their lever arm.
  • Check minimum thickness (ACI Table 7.3.1.1) before running a deflection calculation.
Safety in design & construction
  • Slabs are thin, so a small placement error is a large percentage of d.
  • Construction loads (stacked material, pumping equipment) on a young slab are a frequent collapse trigger.
  • Cantilever slab top steel misplacement is a recurring cause of balcony collapses.
Engineering ethics
  • Do not accept 'the mesh floated up' — require re-pour or an engineered repair.
  • Insist on pre-pour reinforcement inspection and document it.
  • Report any balcony or cantilever deficiency to the owner immediately, in writing.
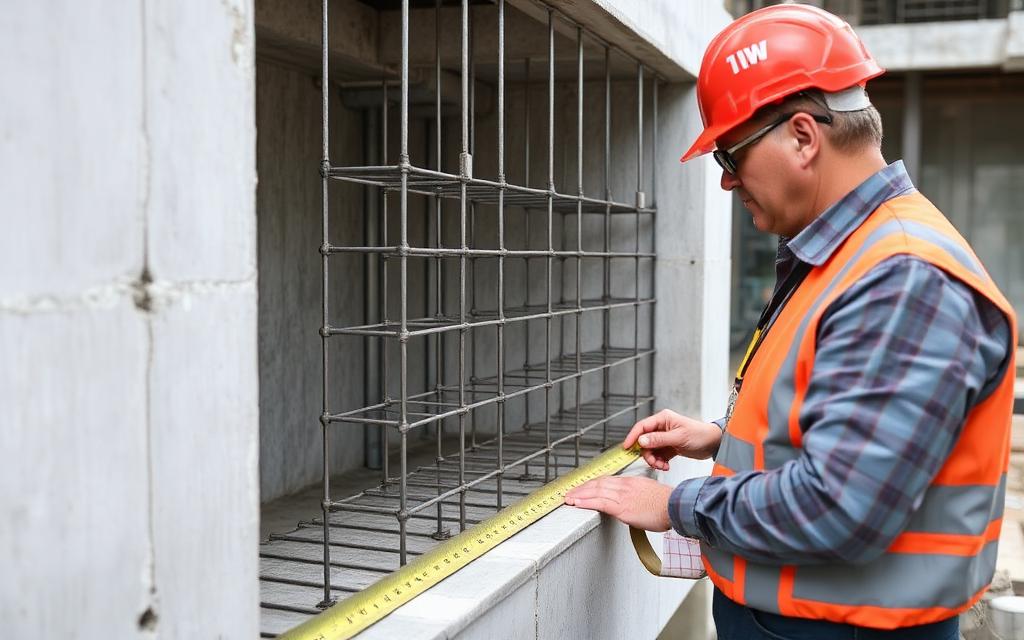
Inspector verifying reinforcing bar size, spacing, and cover before a concrete pour
Field inspection: rebar size, spacing, and cover verified before placement.
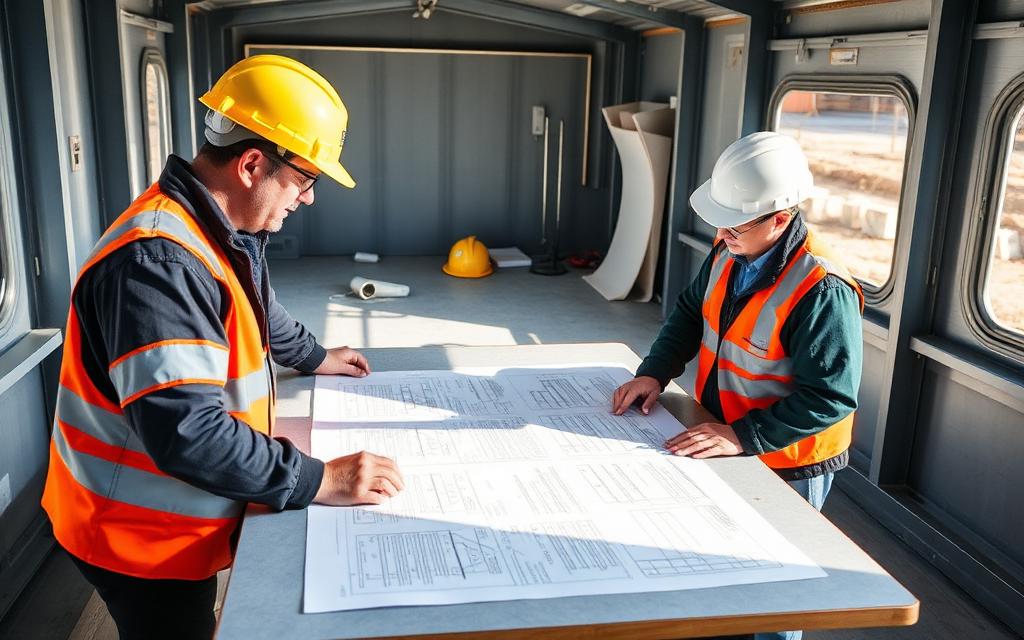
Engineers reviewing sealed structural drawings across a conference table
Design review: documenting assumptions before the drawings are sealed.

ABET / licensure link. These points map to ABET Student Outcomes 2 and 4 — engineering design within realistic constraints, and recognition of ethical and professional responsibilities. Expect NCEES FE and PE exam questions on the NSPE Code of Ethics, OSHA construction requirements, and the engineer's standard of care.

07

Cost analysis

Slab cost per square foot

Approach
  • Slab thickness is the dominant cost variable: every extra inch adds concrete, weight, and foundation load.
  • Temperature and shrinkage steel is a fixed cost per area — budget it, don’t discover it.
  • Formwork reuse across identical bays is the biggest single saving in slab construction.
Worked cost example — One-way slab installed cost
Basis: 7″ slab, per 1,000 ft²
Line itemQtyRateCost
Concrete (7″)
21.6 yd³$165$3,564
Formwork + shoring
1000 ft²$8$7,500
Reinforcement (main + T&S)
1.1 ton$2,200$2,420
Place, finish, cure
1000 ft²$3$2,600
Estimated total$16,084

Takeaway. ≈$15.9/ft² installed — shaving 1″ of thickness saves about $0.55/ft² plus foundation savings.

Unit rates are representative US averages for teaching purposes. On a real project, price with current local rates (RSMeans, fabricator quotes, or contractor pricing) and state the estimate date.

08

Animated concepts

Key mechanics visualised — watch the strain profile, stress block, or buckled shape evolve

Tied vs spiral column confinement
Tied (φ = 0.65)brittle spallingSpiral (φ = 0.75)ductile confined coreApplying axial load…

Under axial load, tied cores spall and lose capacity abruptly (φ=0.65). Spiral cores stay confined and remain ductile (φ=0.75).

09

Engineering figures

Full-page reference diagrams — the visual vocabulary you will use for the rest of the course

§26.6.1

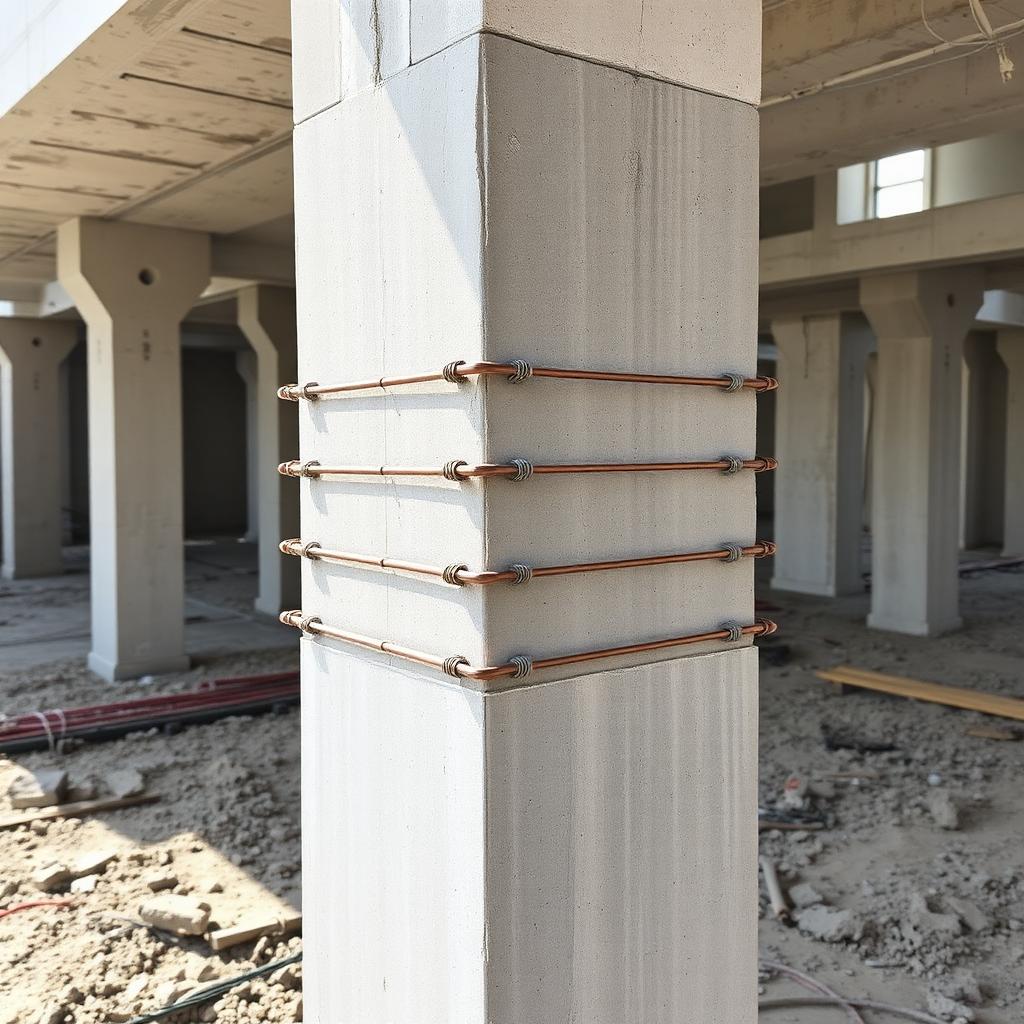
Tied column

Rectangular tied cage
Fig. 26.1Rectangular tied cage

Tied columns: 0.80·Pmax factor, φ=0.65.

§26.6.2

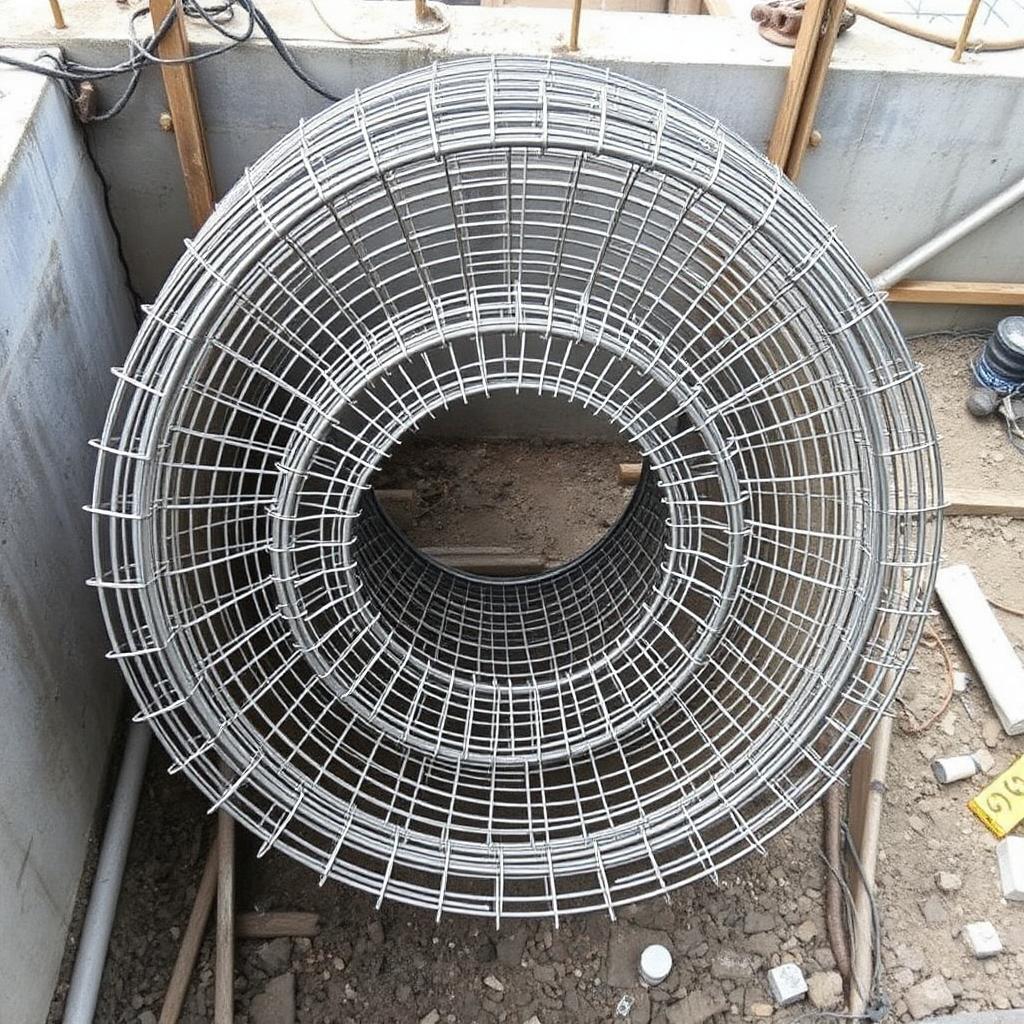
Spiral column

Continuous spiral cage
Fig. 26.2Continuous spiral cage

Spirals confine and boost ductility.

§26.6.3

Crushing failure

Cover spalled, bars buckled
Fig. 26.3Cover spalled, bars buckled

Tie spacing critical.

§26.6.4

Slender bowing

Buckled slender column
Fig. 26.4Buckled slender column

P-δ magnifies moments.

10

Worked examples

Full textbook solutions — problem, theory, step-by-step, verification, interpretation

Example 26.1

φPn,max for a 16×16 tied column (4 #8)

Compute the accidental-eccentricity-capped design axial capacity.

Problem statement

A short 16×16 in tied column has 4 #8 bars (Ast = 3.14 in²), f'c = 4 ksi, fy = 60 ksi. Compute φPn,max.

Tied RC column
FIG. 26.1 — a tied rectangular column.
Tied (φ = 0.65, α = 0.80)Spiral (φ = 0.75, α = 0.85)
DIM16×16 in tied column with 4 #8 longitudinal bars.
Given
  • b = h = 16 in → Ag = 256 in²
  • Ast = 3.14 in²
  • f'c = 4 ksi, fy = 60 ksi
  • Tied → φ = 0.65, cap = 0.80·Pn
Find
  • φPn,max
Assumptions
  • Short column (no slenderness effect)
  • Pure axial (no Mu)
Code references
  • ACI 318-19 22.4.2
  • ACI 318-19 21.2.2
Theory & approach

Pure Pn is capped by 0.80 (tied) or 0.85 (spiral) to account for accidental eccentricity; then multiplied by φ.

Step-by-step solution
  1. 1

    Pure Pn

    FormulaACI 22.4.2.2
    Pn = 0.85·f'_c·(Ag − A_st) + fy·A_st
    Pn = 0.85·4·(256 − 3.14) + 60·3.14
    Pn = 0.85·4·252.86 + 188.4 = 859.7 + 188.4 = 1,048 k
  2. 2

    Accidental-e cap

    Formula
    P_n,max = 0.80·Pn (tied)
    P_n,max = 0.80·1,048 = 838 k
  3. 3

    φ

    FormulaACI 21.2.2
    φ = 0.65 (tied, compression-controlled)
  4. 4

    Design capacity

    φP_n,max = 0.65·838 = 545 k
  5. 5

    ρg check

    ρg = 3.14/256 = 0.0123 = 1.23%
    1% ≤ 1.23% ≤ 8% ✓
Verification

ρg in allowable band and Pn cap correctly applied.

Final answer
φPn,max = 545 k (short tied column).
Common mistakes
  • Using φ = 0.90 (that's flexure TC).
  • Skipping the 0.80 accidental-e cap.
  • Forgetting to subtract Ast from Ag.
References
  • · ACI 318-19
11

Guided practice

Compute the governing variables — hints unlock as you need them

A 14-in-diameter circular SPIRAL column has 6 #6 longitudinal bars (A_st = 2.64 in²), f'c = 4 ksi, f_y = 60 ksi. Compute A_g, ρ_g, P_o, and φP_n,max per ACI §22.4.2, then compare with an equivalent tied section.

Your turn
Hints
  1. 1.A_g = π·D²/4 = π·14²/4 = 153.94 in².
12

Independent practice

Solve the chapter's design task — compute each governing variable

Design task

A 16 in × 16 in tied RC column is reinforced with eight #8 longitudinal bars (Ast = 6.32 in²). Compute the nominal axial capacity at zero eccentricity P0, the code cap Pn,max = 0.80·P0 (tied), and the design axial strength φPn,max.

Given
  • Ag = 16·16 = 256 in²
  • Ast = 6.32 in²
  • f'c = 4000 psi, fy = 60,000 psi
  • Tied column: αc = 0.80, φ = 0.65
Approach
  1. P0 = 0.85·f'c·(Ag − Ast) + fy·Ast (ACI 318 Eq. 22.4.2.2).
  2. For a tied column, Pn,max = 0.80·P0 (ACI 318 §22.4.2.1).
  3. φPn,max = 0.65·Pn,max for a tied compression-controlled section.
Submit your answer
13

Mini design challenge

Pick the column configuration that satisfies strength, ρg, and detailing

Brief

Design a short RC column for P_u = 480 k, f'c = 4 ksi, f_y = 60 ksi. Compare a 16×16 tied square against a 14-in spiral. Check φP_n,max, ρ_g limits, minimum bar count, tie/spiral detailing, AND ductility posture.

Requirements
  • φP_n,max ≥ P_u = 480 kip
  • 1 % ≤ ρ_g ≤ 8 % (ACI §10.6.1.1)
  • Tied: cap = 0.80·P_o, φ = 0.65; min 4 bars (ACI §10.7.3.1)
  • Spiral: cap = 0.85·P_o, φ = 0.75; min 6 bars; ρ_s ≥ 0.45·(A_g/A_ch − 1)·f'c/f_yt (ACI §25.7.3)
  • Tie spacing s ≤ min(16·d_b, 48·d_t, least column dim) — ACI §25.7.2
14

Chapter summary

A mind map of how every concept connects

Graded Chapter Quiz(8 FE-style questions · ACI 318-19 required)

These questions reference ACI 318-19 — sections, equations, and tables are cited explicitly. Use a calculator. Each question offers a clue you may reveal before answering. Submissions are recorded to your account once signed in.

RC27-1ACI 318-19 Table 7.3.1.1
1. Minimum thickness of a one-way solid slab simply supported both ends, Gr 60, L = 12 ft:
One-way slab section · main + T&S bars strip b = 12″ h main flexural T&S ⟂
RC27-2ACI 318-19 §24.4.3.2
2. Temperature-and-shrinkage reinforcement ratio for a slab reinforced with Gr 60 bars:
One-way slab section · main + T&S bars strip b = 12″ h main flexural T&S ⟂
RC27-3ACI 318-19 §7.7.2.3
3. Maximum spacing of main flexural steel in a solid one-way slab:
One-way slab section · main + T&S bars strip b = 12″ h main flexural T&S ⟂
RC27-4ACI 318-19 §24.4.3.3
4. Maximum spacing of temperature-and-shrinkage steel:
RC27-5ACI 318-19 §7 (detailing)
5. Design a 6-in one-way slab strip 12 in wide: As for a #4 @ 8 in bottom:
One-way slab section · main + T&S bars strip b = 12″ h main flexural T&S ⟂
RC27-6ACI 318-19 §24.4.3.2
6. One-way slab thickness h = 6 in, Gr 60, b = 12 in strip. Minimum T&S steel area:
One-way slab section · main + T&S bars strip b = 12″ h main flexural T&S ⟂
RC27-7ACI 318-19 Table 20.5.1.3.1
7. Concrete clear cover for a slab not exposed to weather or ground:
RC27-8ACI 318-19 §8, §7
8. One-way vs two-way slab boundary (rectangular panel, aspect ratio long/short):

Upload your worked solution (PDF)

Attach your handwritten or typed step-by-step solution for this chapter's graded quiz. The instructor can download every submission. PDF only, up to 25 MB.

How your upload will be graded

Your file — PDF, Word document, scanned handwriting or a photo — is read page by page like an experienced structural engineering instructor would. The scan is validated first, then your reasoning, structural model, calculations, diagrams, code basis and final answers are graded on process, not just the final number. Design work is additionally reviewed against AISC 360-22 and ACI 318-19. Partial credit applies, and one early mistake carried correctly forward is only penalized once.

Before you attach the file
  • Include every page, in order and right way up — a missing page cannot earn credit.
  • Keep margins in frame: nothing cropped at the edges, especially boxed final answers.
  • Scan or photograph in good, even light — no shadows, glare or blur; 300 dpi or a steady phone scan.
  • Write in dark pen; faint pencil is the most common 'UNREADABLE — INSTRUCTOR REVIEW REQUIRED' flag.
  • Include all diagrams, FBDs, shear/moment diagrams and section sketches — label them.
  • Number each question the same way the assignment does, and note anything you skipped.
  • Show units on every line and box your final answers.
  • Combine everything into ONE file (PDF preferred; Word, JPG or PNG accepted) under 20 MB.
Sign in to upload your worked solution.
16

FE exam preparation

NCEES-style practice with timer, equation sheet, and mastery tracking

Exam mode
30:00 Calculator
Question 1 / 12

For a 16×16 tied column, Ast=3.14, f'c=4, fy=60 ksi. φPn,max is closest to:

◆◆ MediumACI 318-19 §22.4.2.1 · Table 22.4.2.1 · Table 21.2.2
RC column — tiedb = 16h = 16A_g = 256 in²A_st = 3.14 in²f'_c = 4 ksif_y = 60 ksi